Welcome to this little guide on how to get your workstation set on Ubuntu as a web developer.
It's been a while now since I have become a bit fan of the Linux OS. It's not easy for a Native Windows User to migrate to Linux in one day. It takes time and consistency to get your hands on a few things.
One of my biggest challenges when it comes to moving from Windows to Linux is to replicate my workstation and workflows from Windows on Linux.
Everything you do on Windows can be done on Linux as well, even more. But It's not done the same way or places.
Recently as I was installing my new machine, I thought I could document my procedure and all my researches that help me to get the machine up and running.
In this case, I chose Ubuntu 17.04. The version doesn't matter much. I think I started using Ubuntu since version 8 when I received their free CD(an impressive attitude). So whatever version you choose will do for now.
And you might be asking why Ubuntu not, Suse, Debian, RedHat, Kaly, or Arch... Honestly, I am new in this environment and I am taking it easy. I don't think I am good enough for other distributions. Ubuntu looks familiar to me. Just after the installation I can go ahead and do a lot.
Next is to get your OS installed. Grap a copy of the ISO file and make your installation. Talking of that. One good thing I would advise most of you who have never used Linux OSes is to make a dual boot with windows. This simply means you install Windows and Ubuntu on the same PC. Those ways you can easily switch back to Windows if you need to go back to some of your old habits. Or if you have two machines, let one have Windows and the other Ubuntu.
Once you have Ubuntu installed it's time to get some of our tools set, starting from Google Chrome(the leading browser). By the way, Ubuntu comes with Mozilla already installed. So no worries about that one.
A note: Make sure you install the 64 bit if you really need Google Chrome.
1 - Install Google Chrome.
You need x64 OS to get chrome. There are a lot of challenges with the 32-bit version of Ubuntu. While there are many ways of doing that, this worked for me.
Download chrome .deb file from official chrome site
Open terminal in that download folder then run these commands:
sudo dpkg -i google-chrome-stable_current_amd64.deb
sudo apt install -f
sudo dpkg -i google-chrome-stable_current_amd64.deb
2 - Install an IDE
I use Sublime Text 3 and Atom, and here is how I got them installed:
Sublime Text
wget -qO - https://download.sublimetext.com/sublimehq-pub.gpg | sudo apt-key add -

echo "deb https://download.sublimetext.com/ apt/stable/" | sudo tee /etc/apt/sources.list.d/sublime-text.list

sudo apt update && sudo apt install sublime-text
Atom
Download atom-amd64.deb from official website
Open terminal in the edownload folder, and run:
sudo dpkg -i atom-amd64.deb
sudo apt --fix-broken install
4- Install LAMP
On Windows, you use to install WAMP(Windows Apache MySql and PHP). In most cases, on Windows, we use to go for a software like Xamp, WampServer, or EasyPhp. But in Linux there nothing like that, you have to install those tools one by one starting from Apache.
Apache
sudo apt-get update
sudo apt-get install apache2
sudo dpkg -l apache2
PHP
sudo apt-get install python-software-properties
sudo add-apt-repository ppa:ondrej/php
sudo apt-get update

7.1
sudo apt-get install -y php7.1

7.0
sudo apt-get install -y php7.0
Install PHP 7 modules
sudo apt-cache search php7-*
sudo apt-get install php7.0-mysql php7.0-curl php7.0-json php7.0-cgi
Do the same for PHP 7.1. You could also ignore the 7.0 version.
CHECK installed packages
sudo dpkg -l php7.*Test
sudo gedit /var/www/html/test.php
sudo /etc/init.d/apache2 restart
visit http://localhost/test.php
Note something very important here. Usually on Windows, when you install wamp, your webroot is located in a folder like C:/wamp/www/. On Ubuntu 17 the folder is located in /var/www/html. When you open that folder you will see the Apache test file named
index.html. This the reason I created the test file at that place.
MYSQL
sudo apt install mysql-client-core-5.7
sudo apt install mariadb-client-core-10.1
Test
mysql -u root -p
create database usersdb;
show databases;
4 - PHPMYADMIN
sudo apt-get install phpmyadminThis one is straightforward. Just follow instructions and set a password.
Configure php.ini
sudo gedit /etc/php/7.0/apache2/php.ini

Enable extension=mysql.so and other needed extensions
Configure apache.conf
sudo nano /etc/apache2/apache2.confAdd this to the end: /etc/phpmyadmin/apache.conf
TEST
sudo dpkg -l phpmyadmin
Visit http://localhost/phpmyadmin
5 - COMPOSER
sudo apt-get update
sudo apt-get install curl
sudo curl -s https://getcomposer.org/installer | php
Move the composer.phar file:
sudo mv composer.phar /usr/local/bin/composer6 - ZSH & OH-MY-ZSH
This is about the command line console. On Windows, you have one by default: cmd. But this console is well known to be the most uncomfortable. On Ubuntu, we also have one by default, known as Terminal. You can use the task bar to get or just press CTRL + ALT + T or CTRL + SHIFT + T and it will pop up.
So the point here is to try to make it look nicer since it's going to be a place we will waste most of our time.
By default, this Terminal runs a program called Shell. We can decide to overwrite that default shell program and install one we prefer. There are many out there such as ksh, tcsh, bash, or zsh.
In this case, I chose ZSH(read it 'Z-SHELL'). But, zsh doesn't come with all its beauty by default. We need to set a kind of theme, also known as a template. And in this case, the template is OH-MY-ZSH. This brings all the OMG around your terminal.
Read more about Linux shell here
So here is how to install ZSH and OH-MY-ZSH:
sudo apt-get install zsh
sh -c "$(curl -fsSL https://raw.github.com/robbyrussell/oh-my-zsh/master/tools/install.sh)"
Making ZSH the default shell
Edit the .bashrc file by adding following:
# Launch Zsh
if [ -t 1 ]; then
exec zsh
fi
Customizing oh-my-zsh
ZSH settings are stored in a .zshrc file located in your home directory and you can view it by running gedit /.zshrc from the terminal. By default, such files are hidden. You can show hidden/show files and folders by using CTRL + H
sudo gedit ~/.zshrc
In the file locate the theme line and you can change it.
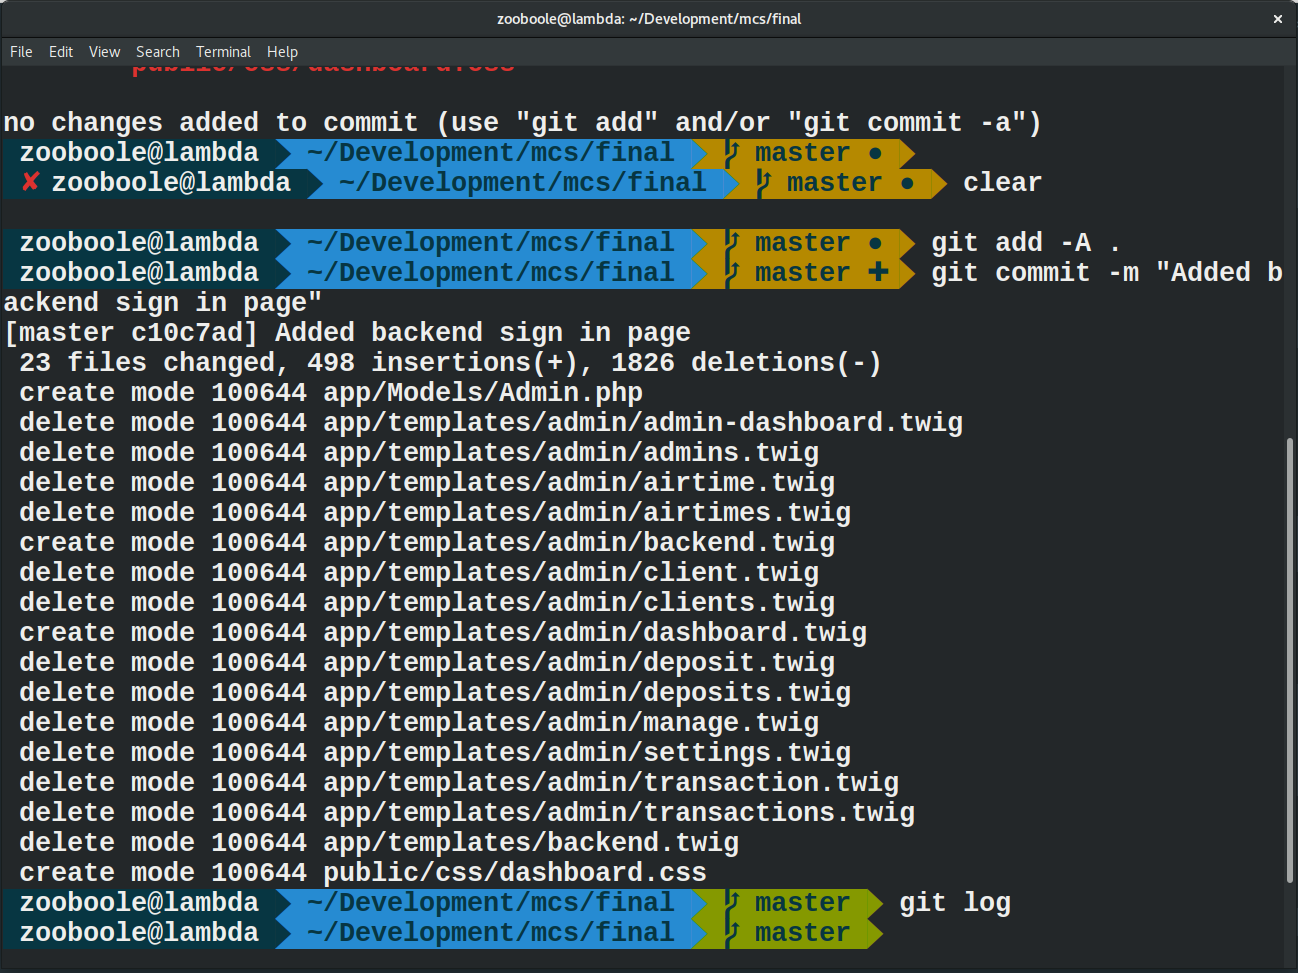
7 - GIT
sudo apt-get install gitSet User
git config --global user.name "zooboole"Confirm the username is well set:
git config --global user.nameSet Email
git config --global user.email "mypromail2@gmail.com"8 - NODEJS
curl -sL https://deb.nodesource.com/setup_6.x | sudo bash -
sudo apt install nodejs
To get Yarn instead, check out this link
9 - SASS / RVM / RUBY
This is been very tricky for me. It took me days to get good resources on it. I am just sharing the link that saved me with you here:
Install Ruby/Rails + Compass/Sass on Ubuntu
10 - INSTALL Foxit Reader and .taz files
This link shows you how to get foxit reader, but it also teaches you how you caninstall .taz files.
How To Install Foxit Reader on Ubuntu 16.04
11 - UNPACK ZIP Files
Here is a cool resource that explains most of the ways: How to unzip a zip file using the Linux and Unix bash shell terminal
12 - DESKTOP ENVIRONMENTS
You can change the default look-and-feel of Ubuntu. You can install what is called Desktop Environment. Here is a list some you could use: 5 Linux Desktop Environments on the Rise for 2017. I personally use GNOME.
13 - Set up your sites
Among all these challenges with Linux OSes, the most challenging one I met, in the beginning, was setting up a website locally.
This might sound ridiculous to most gurus, but the truth is that I had a hard time with that. And I believe that most people think it's an obvious thing. That may be the reason why it's hardly documented online.
So, what's the point? Well, when your work on Windows and you have wampServer installed for example, you can create a website in c:/wamp/www/mysite. Then you can go to your browser and type http://localhost/mysite and your site will show up.
On Ubuntu, it's not that simple. The first challenge is that the webroot, which is the /var/www/html is not writable by anyone. This means, you won't go in the folder, right-click and do new folder. It won't work.
But, in order for Apache to see your websites, you need to place them there. If you go to your terminal and run something like:
sudo mkdir mysiteIt will create the folder, but Apache or your IDEs may not have the right to access your files. Complicated, right?
Well, here is how I learned to do it so far:
- First create a Symlink
Symlink stands for a symbolic link. This is a way of linking two folders. One is the real one, and the other will be like a mirror. It's just like shortcut links on Windows.
So, what we do is to create our development folder somewhere where we have rights, like in the home directory /home/yourusername. In my case, myusername is zooboole. So, I have home/zooboole. I will be using my username, you should replace it with yours.
First remove the default html folder by running:
sudo rm -rf /var/www/htmlSecond, create your development folder in your home folder. I will call it here web
cd /home/zooboole && sudo mkdir webNow that the folder is created(you can use ls to check), we can create the symlink:
sudo ln -s /home/zooboole/web/ /var/www/htmlThis will re-create the HTML folder. And anything you create in the web folder reflects in the /var/www/html folder.
You can access your sites by visiting something like: http://localhost/web/someSite
Second, create Vhost or Virtual Hosts
The second option is what I see most pros use. It allows you to have a domain like http://mysite.local, http://mysite.dev, or dot whatever you want. It makes the project look like it's already hosted.
So, How to do it?
First, check if mode rewrite is enabled
sudo a2enmod rewriteRefresh Apache
systemctl restart apache2Add your site to the hosts
sudo gedit /etc/hostsIn the file that opens add: 127.0.0.1 sitename.extension
Configure Appache
sudo gedit /etc/apache2/sites-available/sitename.extension.confIn the empty file that opens enter following:
<VirtualHost *:80>
    ServerName www.sitename.extension
    ServerAlias sitename.extension *.sitename.extension
    DocumentRoot /var/www/html/sitefolder/
    <Directory /var/www/html/sitefolder/>
        Options Indexes FollowSymLinks MultiViews
        AllowOverride All
    </Directory>
</VirtualHost>
Remember to replace
extensionwith and extension of your choice.sitenamewith your site name, thensitefolderwith the right folder where the site is hosted in your system.
Then run:
sudo a2ensite sitename.extension
systemctl reload apache2
Now you can view your site on http://sitename.extension on your browser.
Third, use PHP built-in servers
For fast craft, you can also go ahead and use in-built servers. Depending on the language you use, or either you are on frontend or back end.
For the backend, I go for PHP built-in server. It's easy to fire it.
cd to your project root and run
php -S localhost:8080Now you can view your site on http://localhost:8080. Read more about the PHP in-built server.
For my frontend, I go for webpack or Gulp build tools. These are more complex to configure and there is no standard setup. I am sure if you look at their docs you will find your ways.
Concluding
I keep this as a guide for next installations. I hope it helps you as well now or in the future. In addition to this I would like to invite you to read more about Linux FileSystem here.
Let's keep on practicing, we will grow soon.
Last updated 2024-01-11 UTC